
To configure your bank details in Portfolio Sync Interface, follow these steps:
-
Start the Bank Migration Wizard by selecting DATA ENTRY, SUPPLEMENT BANKS FOR CLIENT MASTER DATA in the main menu of PSI.
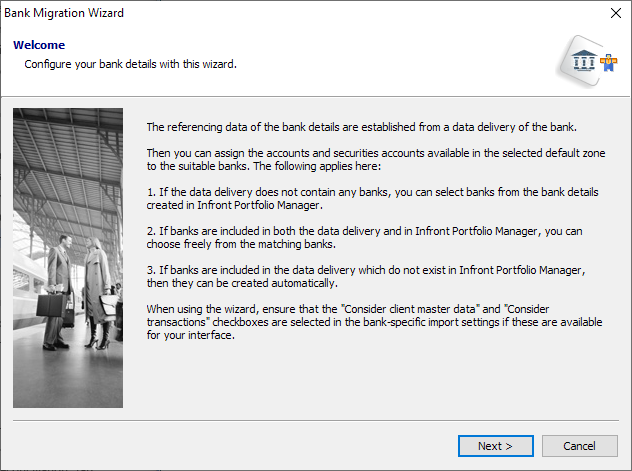
The first page of the Bank Migration Wizard welcomes you, providing introductory information.
-
Click the "Next" button.
This opens the second screen of the wizard.
-

-
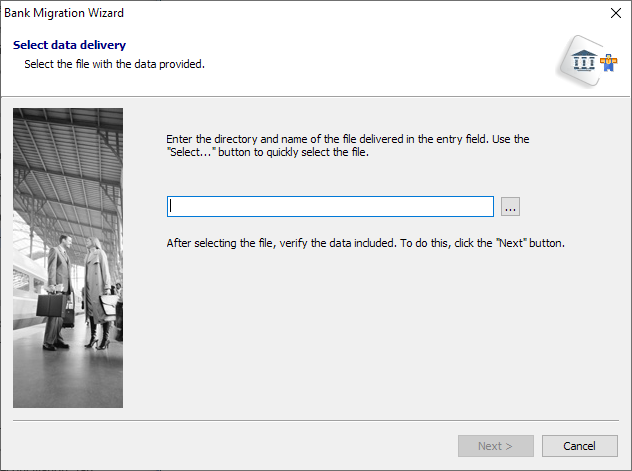
Click the "Next" button.
This opens the next screen of the wizard. Here, the data contained in the file are checked (verified). The wizard searches for the account, securities account and bank master data. Next, the wizard checks which data is already contained in Infront Portfolio Manager. A status indicator shows the progress of the checking operation.

The result of the check is displayed. In addition to providing the number accounts, securities accounts and banks found, the wizard also informs you about the number of fitting accounts and securities accounts in Infront Portfolio Manager. Click the "Next" button.
This opens the next screen of the wizard. On the page, you see a list of the banks from the data delivery with information on name, sort code, BIC and branch. You can create them automatically in Infront Portfolio Manager. If necessary, filter the list from the data delivery by banks that you want to create in , because only the visible banks are created. Click the "Create banks" button to create the currently visible banks.
Infront Portfolio ManagerIf you do not want to create banks from the list in Infront Portfolio Manager, select the "Do not create any" checkbox.

-
Click the "Next" button.
This opens the next screen of the wizard. Here, you can assign banks to accounts and securities accounts. You can switch between the "Accounts" and the "Securities accounts" tab, respectively.

Filter the lists as usual and assign the bank details in the "Bank" column.

Below the drop-down list, the wizard informs you about the matching items or possible conflicts that it found, for example, several fitting accounts. A hint icon might appear on the "Accounts" or "Securities accounts" tabs, indicating conflicts. The corresponding rows are highlighted and shown on top of the list, allowing you to quickly see them. If this is the case, check carefully which assignment fits.

-
After the assignment, click the "Next" button.
The next page of the wizard appears.

The wizard informs you that the configuration of the bank details was successful. Separated by accounts and securities accounts, the statistics show the number of changed accounts and securities accounts as well as the names of the corresponding bank details. -
Click the "Finish" button to complete the migration and exit the wizard.